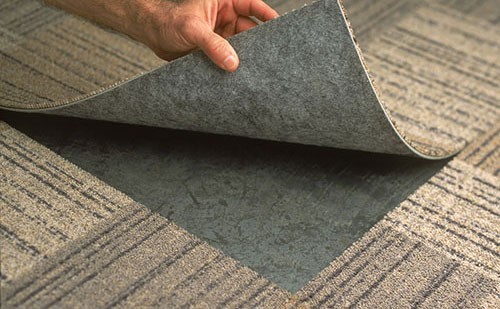
Carpet taile

Laying carpet tiles
Carpet tiles are most commonly used in offices and commercial spaces, but they are also great for the home.
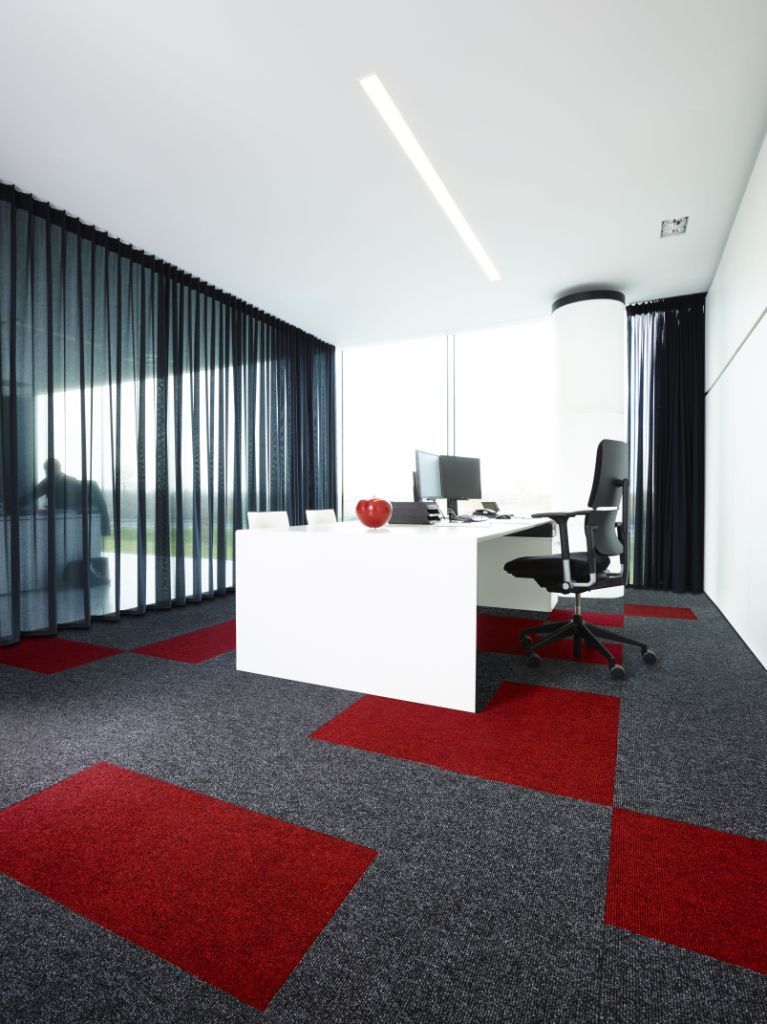
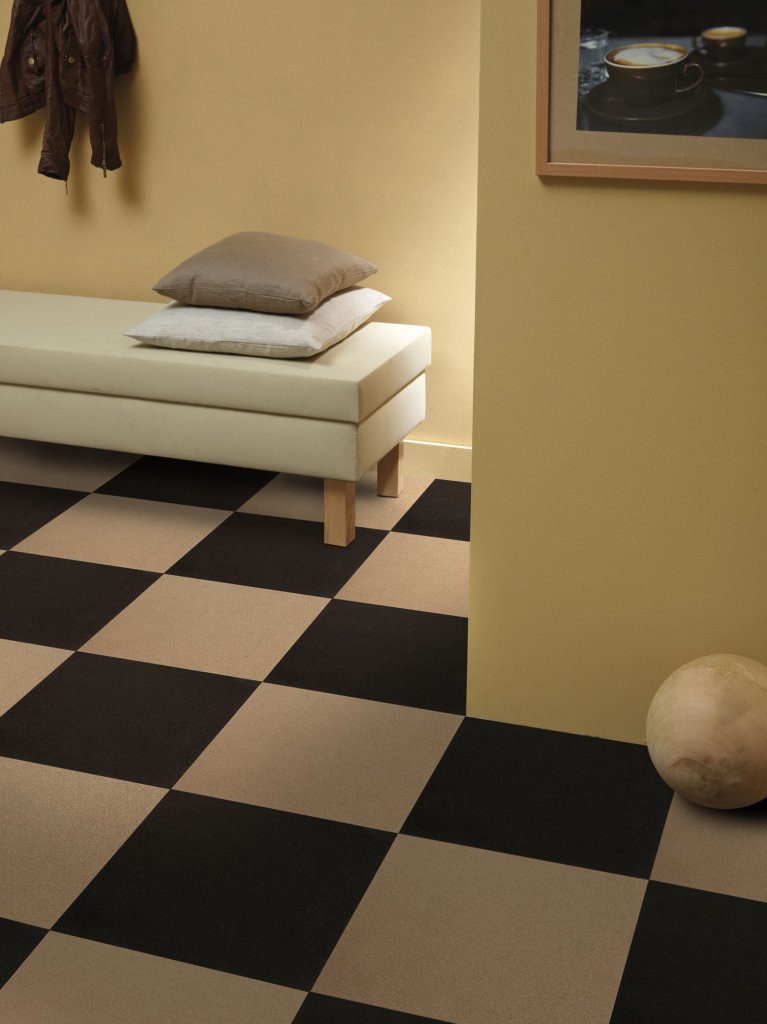
Design 3353 RED Design 1234 SAND

Self-adhesive tiles by themselves provide sufficient adhesion to the floor.
If there is a need for additional fixation to the base, you can use double-sided tape or glue.
For anti-slip fixing, Eurocol 541 Eurofix Anti Slip carpet tile adhesive is suitable. Tiles laid on such glue can be removed and reused later without problems.
For full-fledged and reliable adhesion, IDEAL 701 water-based carpet adhesive is recommended.
Make sure that the base of the future floor:
Dry - maximum humidity for a wooden base - no more than 50%, cement - no more than 2 CM *%, for gypsum - no more than 0.5 CM%;
even - the difference in height is not more than 4 mm for every 2 meters
durable and clean.
Standard cementitious screeds dry to the desired moisture content within 1-7 weeks, quick-drying screeds within 1-5 days. More detailed information can always be obtained from the manufacturers of leveling compounds.
Highly absorbent surfaces such as clinker must be primed.
If you take carpet tiles for a house with a warm floor, turn off the heating at least 2 days before laying.
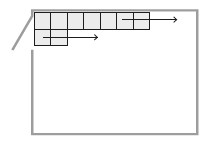
Multicolor - in the direction from the center of the room to the walls. This will make it easier to control the correctness of the calculation of the pre-selected pattern.
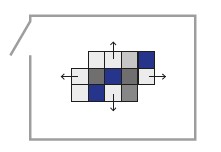
Fit the ends tightly together, leaving no gap. Otherwise, over time, the pile on the edges of the tile can bend into the joint, and noticeable stripes form on the floor.
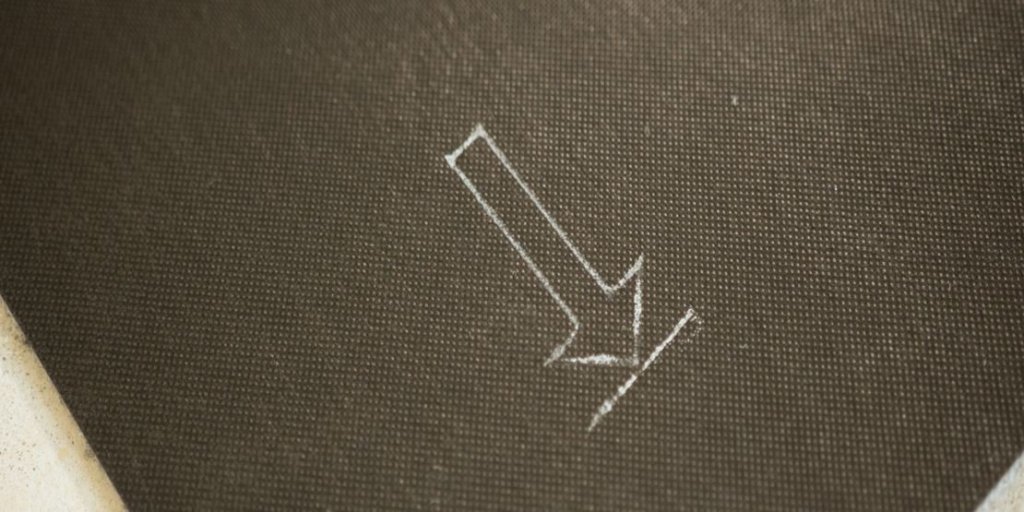
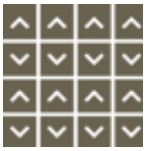
An arrow is drawn on the back of each tile to show the direction of the pile. With the help of this marking, you can control the order of laying carpet tiles and the future pattern of the covering.
There are several basic styling options. Which one to choose is up to you or your designer.
Masonry. Tiles are stacked with up / down offset in half the length.
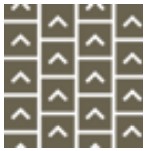
Brick. The tiles are stacked with an offset to the right / left in half the length.
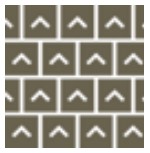
Chess board. The tiles are laid with a 90 degree rotation.
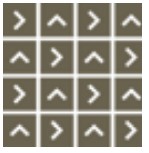
Monolith. All tiles are stacked in the same direction of the arrow.
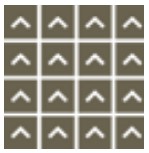
Chaotic. The tiles are laid in an arbitrary direction.
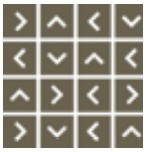
Bidirectional. A type of monolithic styling in which adjacent rows are directed in opposite directions.
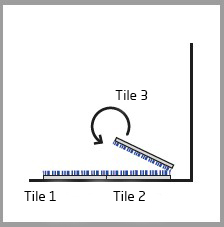
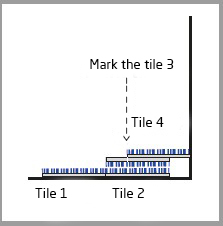
Lay another tile on top and mark the cutting line along the end.
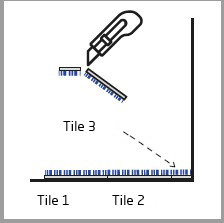
Cut the last row of tiles along the cut line and lay against the wall.
Cut the tiles along the cut line and lay them on the base. If you are not using glue, reinforce the joint with double-sided tape.
8. Replacing worn out and damaged tiles
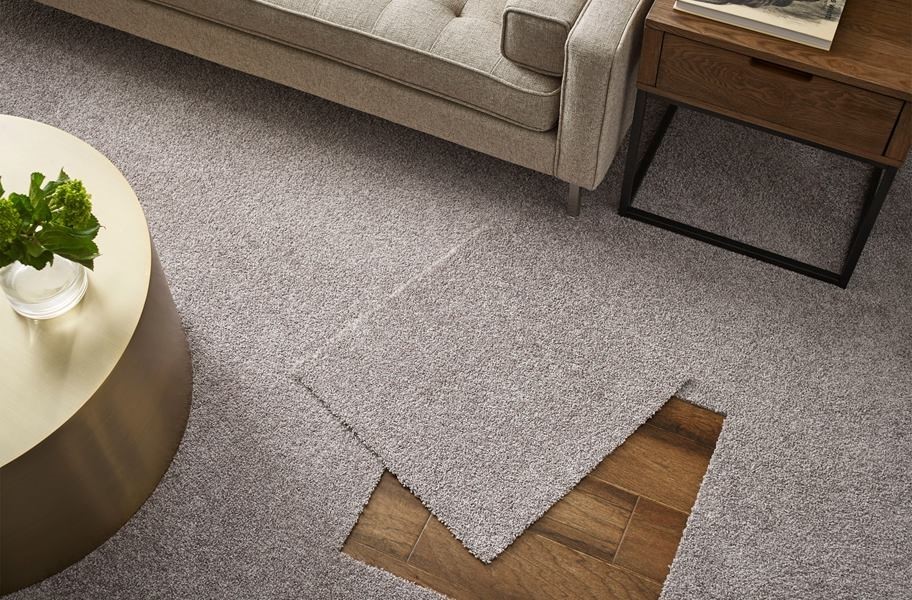
Replace damaged carpet tiles only with tiles of the same size and height. Remove the tile to be replaced. To do this, insert a spatula into the joint between the tiles and place it under the corner of the tile to be replaced. After the corner has detached from the base, pull the tile towards you until it comes off completely.
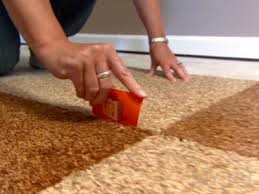
Glue a new one to replace the old one. If the new tile has a bituminous base, use double-sided tape or glue for better fixation.


Design 3353 RED Design 1234 SAND
1. What is required?
Materials
- Carpet tiles
- Double-sided tape or glue

Advice
Carpet tiles are available with two types of base - self-adhesive and bituminous. Both do not need to be fixed to the base with glue.Self-adhesive tiles by themselves provide sufficient adhesion to the floor.
If there is a need for additional fixation to the base, you can use double-sided tape or glue.
For anti-slip fixing, Eurocol 541 Eurofix Anti Slip carpet tile adhesive is suitable. Tiles laid on such glue can be removed and reused later without problems.
For full-fledged and reliable adhesion, IDEAL 701 water-based carpet adhesive is recommended.
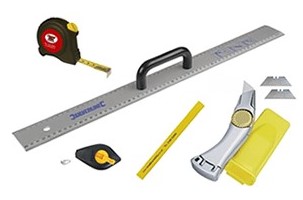
Instruments
- Knife
- Roulette
- Metal ruler
- Gon
- Chalk marking cord
- Glue spatula

2. Preparation
Let the original packaging of carpet tiles sit for 24 hours in a warm and dry place.Make sure that the base of the future floor:
Dry - maximum humidity for a wooden base - no more than 50%, cement - no more than 2 CM *%, for gypsum - no more than 0.5 CM%;
even - the difference in height is not more than 4 mm for every 2 meters
durable and clean.
Standard cementitious screeds dry to the desired moisture content within 1-7 weeks, quick-drying screeds within 1-5 days. More detailed information can always be obtained from the manufacturers of leveling compounds.
* What is CM Percentage?
The SM laboratory method is the main method for measuring the moisture content of materials. A sample is taken using a hammer and chisel. It is crushed and weighed. Then it is placed in a flask with a carbide ampoule and steel balls. The flask is tightly closed and shaken several times. The moisture from the sample reacts with the carbide to form a gas. The readings of a pressure gauge measuring gas pressure are determined from the table as the level of residual moisture in CM-percent.Highly absorbent surfaces such as clinker must be primed.
If you take carpet tiles for a house with a warm floor, turn off the heating at least 2 days before laying.
3. Start laying
Start installing solid-colored carpet tiles from the door along the long wall.
Multicolor - in the direction from the center of the room to the walls. This will make it easier to control the correctness of the calculation of the pre-selected pattern.

Fit the ends tightly together, leaving no gap. Otherwise, over time, the pile on the edges of the tile can bend into the joint, and noticeable stripes form on the floor.
4. Laying procedure
An arrow is drawn on the back of each tile to show the direction of the pile. With the help of this marking, you can control the order of laying carpet tiles and the future pattern of the covering.
There are several basic styling options. Which one to choose is up to you or your designer.
Masonry. Tiles are stacked with up / down offset in half the length.

Brick. The tiles are stacked with an offset to the right / left in half the length.

Chess board. The tiles are laid with a 90 degree rotation.

Monolith. All tiles are stacked in the same direction of the arrow.

Chaotic. The tiles are laid in an arbitrary direction.

Bidirectional. A type of monolithic styling in which adjacent rows are directed in opposite directions.

5. Laying the last row
Turn the tiles of the last row with the pile down and lay strictly parallel on the tiles of the penultimate row.
Lay another tile on top and mark the cutting line along the end.

Cut the last row of tiles along the cut line and lay against the wall.

6. Bypassing pipes and protruding structures
Use a special tool or a simple sheet of paper to form a template for the outline of the protruding structure. Use it to draw a cutting line on the tile. No expansion clearance is required.Cut the tiles along the cut line and lay them on the base. If you are not using glue, reinforce the joint with double-sided tape.
7. The final stage
After finishing laying carpet tiles for 48 hours, protect the floor from direct sunlight.8. Replacing worn out and damaged tiles
Replace damaged carpet tiles only with tiles of the same size and height. Remove the tile to be replaced. To do this, insert a spatula into the joint between the tiles and place it under the corner of the tile to be replaced. After the corner has detached from the base, pull the tile towards you until it comes off completely.

Glue a new one to replace the old one. If the new tile has a bituminous base, use double-sided tape or glue for better fixation.

